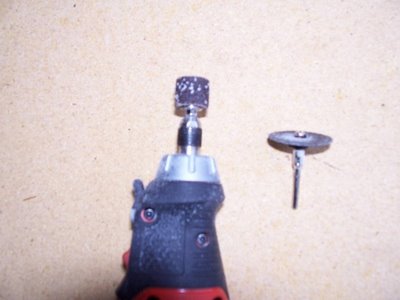
Here's a quick run through of a little skimmer I'm building for my temperate SW system. Apart from the needle wheel pump it cost about $75 to build and is comparable to a $1700 unit. Here are the two main tools I'll use (always wear proper eye protection): A "Dremel" type rotary tool with a cut off disc and a barrel sanding attachment to work the water bottle
 and a compound mitre saw for cutting PVC piping
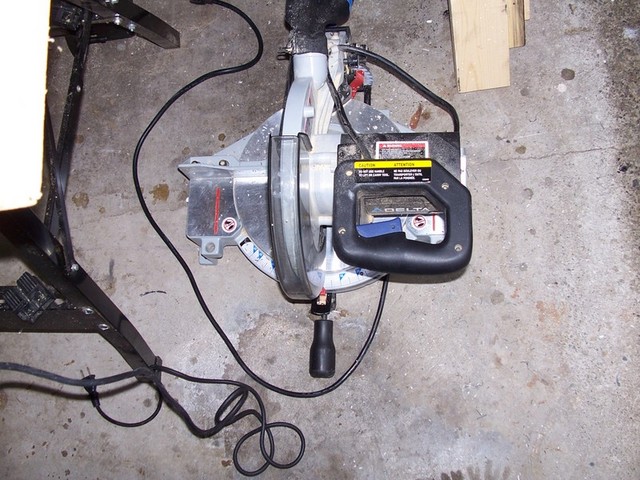 I begin by marking and cutting a 5G. water bottle.
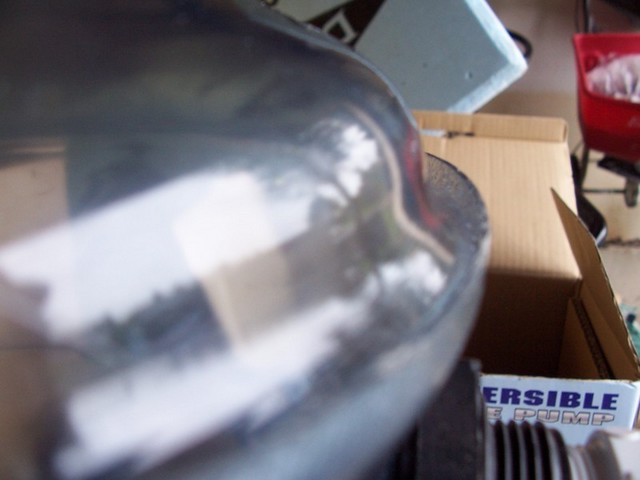
 This shot shows how I've cut at a spot that leaves an extended flange on the bottle
 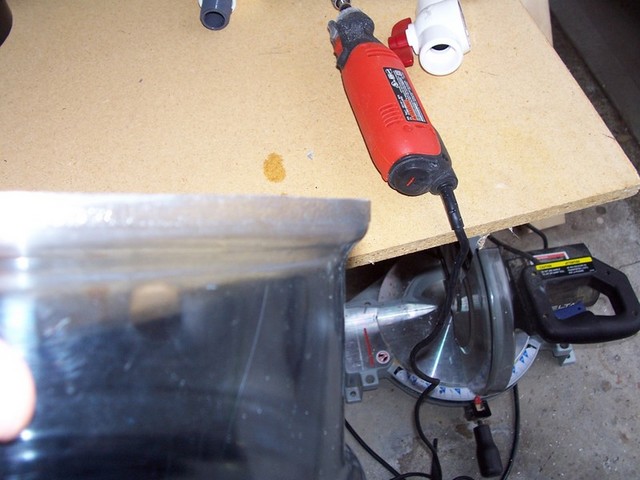 Here's a shot of the Sedra 9000 needle wheel pump (off of the $1700 skimmer). I will be using the pump in a recirculating mode on the skimmer. It came with 1/2 of the unions glued in place and I couldn't find a reasonably priced replacement.
 So I cut the collars off. Notice the 1/2" PVC pipe that fits snugly inside the pump lines.
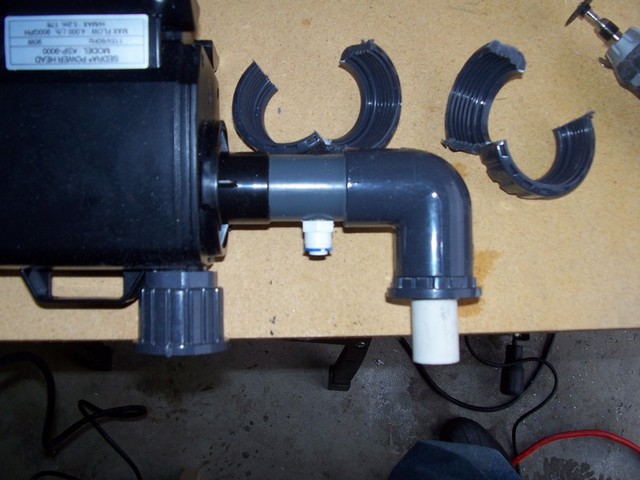 I lined the intake and outlet of the pump up against the water bottle, marked, and then cut out holes for the bulkheads. I cut the rough holes with the cut off disc and smoothed things out with the sanding barrel.
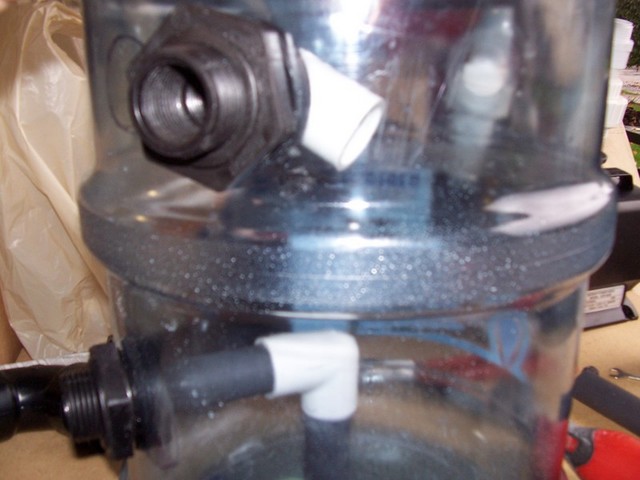
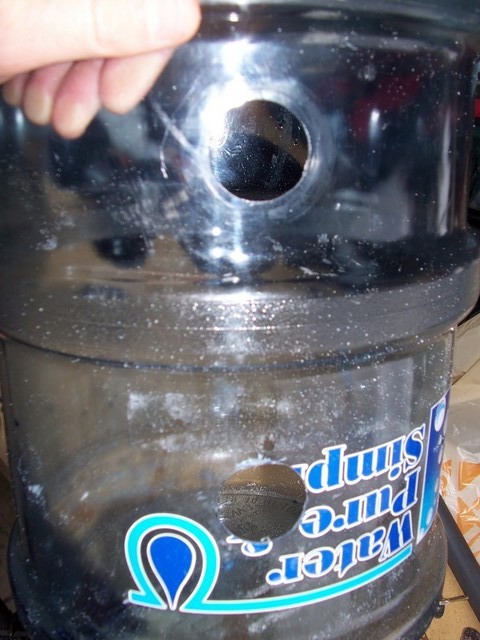 Here are the installed bulkheads for the pump
posted by Dusko Bojic aka Che Guebuddha @ 8:41 AM
![]()
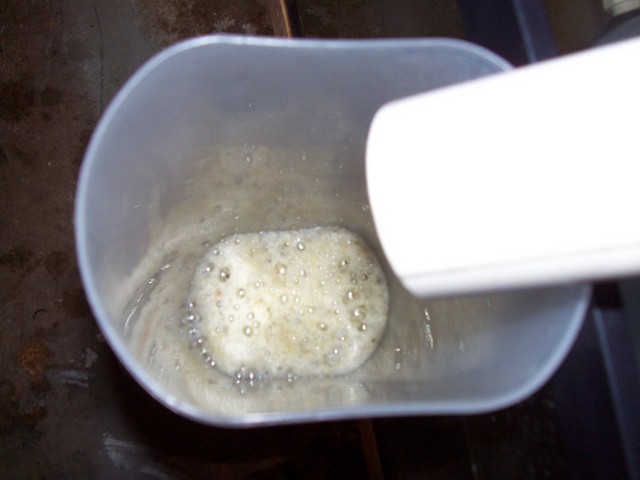
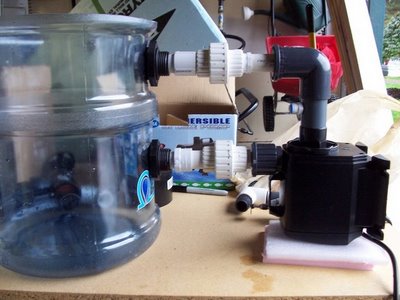 Next I installed a bulkhead and fittings for the skimmer returnline (water out of skimmer).
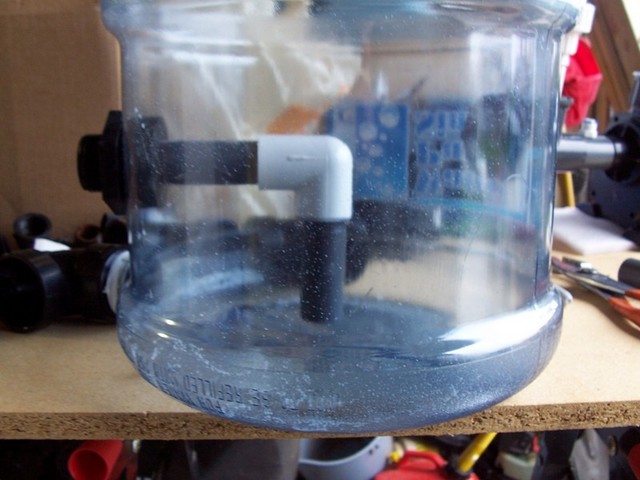


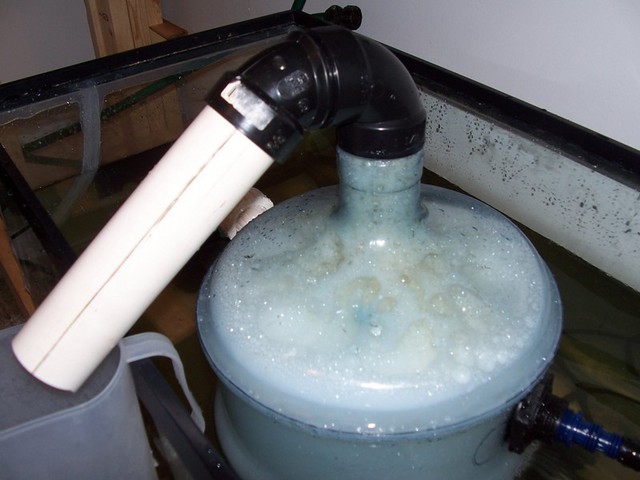
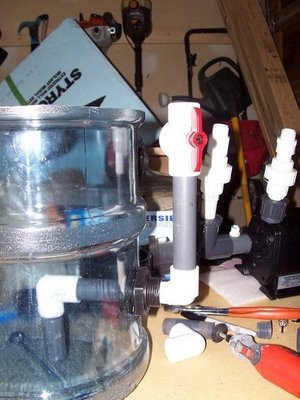 I also cut the lip off the neck of the bottle so that 1 1/2" PVC would fit. The PVC is also secured for now with silicone.